How To Prepare My Home For a Sanding Service?
August 12, 2022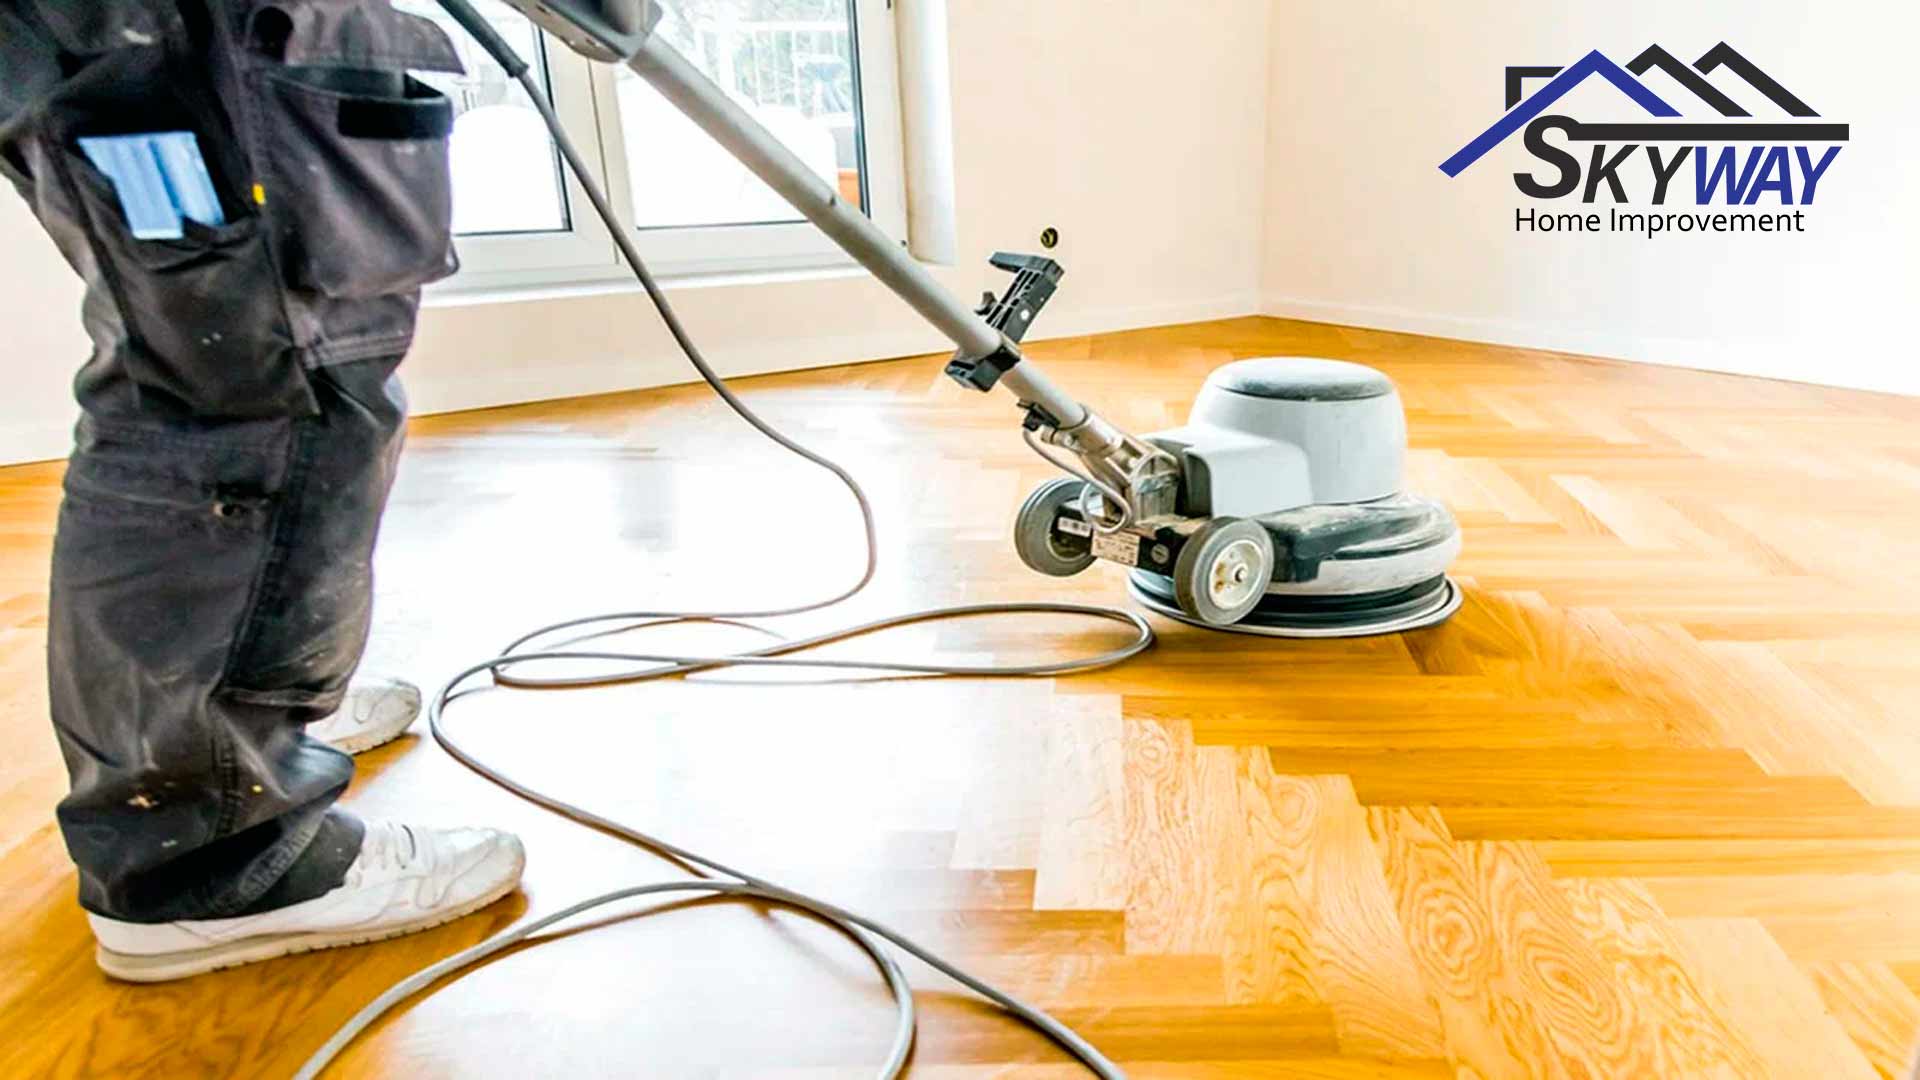
Home Preparation Before Wood Floor Sanding
Unfortunately, sanding is popular for being a messy and stressful experience, but this is only half of the truth, because the process can run really smoothly, almost-completely dust-free and entirely stress-free and to this contributes the good preparation too.
Let’s say that you are already at the point considering initiating a wood floor restoration service. In order to ensure a smooth experience and be able to enjoy great results, you need to consider a proper preparation, no matter if you are hiring a specialist contractor or you are DIY-ing.
Wood floor sanding pre-steps checklist:
Plan ahead:
Scheduling the whole process will help you a lot and minimize the disruption to the day-to-day life of the whole household. In fact, home renovation services never feel like visiting a SPA salon; but you can always make sure to make the whole experience as smooth and bearable as possible. If you are hiring a professional contractor, make sure to ask for the schedule the sanding team will follow.
If you are planning it as a DIY project, your schedule depends on you, so be smart with it. Furthermore, although there is no need to do so, but if you feel that the members of your household won’t feel good at home, while the sanding process is running, book a hotel room for a few days.
Remove furniture and rugs:
It is very important to relocate all furniture pieces, decorations, hanging art, rugs and small knick-knacks outside the room, where refinishing is planned.
Stock on plastic sheets:
Although modern sanding methods guarantee almost completely dust-free experience; make sure to cover windows and doors with plastic sheets that will work as a good barrier for saw dust entering the rest of the house.
Ensure good ventilation:
The drying process after the final application of finishing product can take up to a couple of weeks. The better ventilation you have in the room, the faster the finish will get dry.
Cleaning:
Pre-cleaning your floor is as important as cleaning after each stage of the sanding process. You do not want dust and dirt particles scratching the bare wood or staying trapped in the finish forever, right? Use a powerful vacuum machine and a mop damped into a bit of water and a cleaning product that is designed for wood flooring only.
Inspection:
While estimating the condition of your floor, look around for popping head of nail and hammer them down; otherwise the sanding machine can catch them later and leave serious dents and scratches.
All minor repairs your floor might need are recommended to be finished before the sanding process starts including gap filling; nailing or gluing down loose boards, etc.
Font: Sanding.co